
Leeds Beckett University - City Campus,
Woodhouse Lane,
LS1 3HE
Inspera marking tool
Page last updated:
This staff guide gives an overview of the Inspera marking tool.
Use the Introduction below to familiarise yourself with the Inspera marking tool. You can then explore the different workspaces and the actions available in each one.
Inspera is currently available for use in the Law School and School of Health (Nursing courses), to service PSRB mandated requirements for academic integrity in examinations.
To access the Inspera marking tool:
a. Log in to Inspera.
b. Click Grade in the top menu.

c. Locate the relevant test for grading.
d. You can also locate a finished test in Deliver and click Open in Grade.

The Inspera marking tool is split into two main areas: the header and the workspace area.
The header displays:
- Name of the test
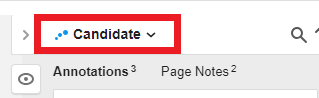
- Current selected candidate (student)
- Question number
- Your name
- Your role
- Committee (if you're part of a Committee you can click the link to change between Committees)

The workspace area displays:
- Overall status and progress of your marking
- Confirm button
- Options menu (quick access to important actions such as print and download submissions)

Inspera marking tool has different workspaces for different tasks, more information on the different workspaces can be found below.
a. The Grading overview workspace can be accessed from the left hand menu.
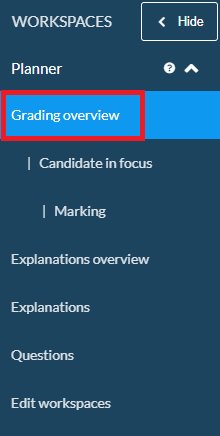
b. The Grading Overview has two views, Default view and Results view.

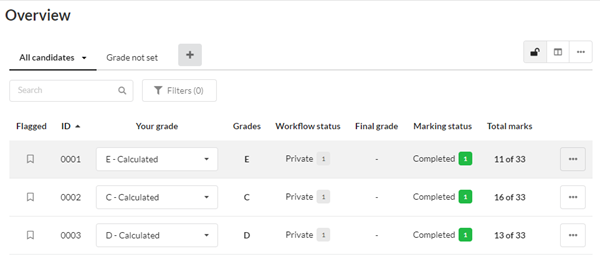
c. Default view displays a table of all candidates in the test or within your Committee. The candidate list allows you to:
- Set overall grades in the list
- Use the tabs to filter by grading status
- Flag candidates that need a follow up
- Search using filters
d. Results view shows two columns, the candidates list and the questions list.
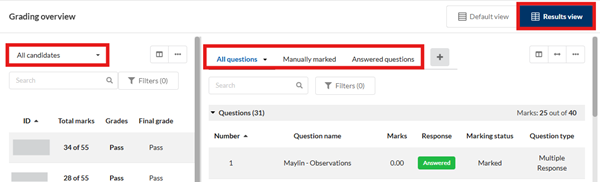
e. You can click the column icon to add columns to your view, you can show, hide or reorder columns.
![]()
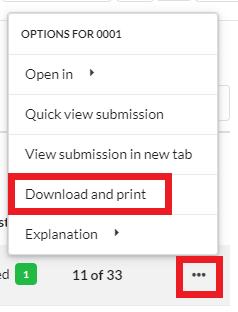
f. To download and print individual submissions, click the 3 dots next to the candidate and select Download and print.
You can access the Candidate in focus workspace from the left hand menu.
The workspace provides:
- A dropdown menu for assigning a mark
- A display of total marks awarded to the candidate
- A table showing the breakdown of the candidate’s performance of each question.
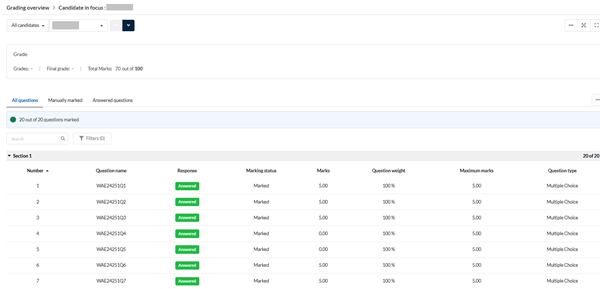
Clicking on a question in the data table opens the Marking workspace of the selected question with the response from the candidate in focus.
The Marking workspace can be accessed from the left hand menu.

The Marking workspace is set up with two columns and a navigation header.
The first column contains the candidate's answer as well as a tab to view the question.

The navigation header can be located at the top of the screen.
- To navigate by candidate use the up and down arrows.
- To navigate between the questions use the left and right arrows.

You can filter the navigation for candidates.

You can filter the navigation for questions.

You can select a candidate from the list using the filter.

Focus mode hides the left menu and header bar.

The second column in the Marking workspace displays the results. Here you can add manual marks, view the question mark scheme and access the private notes panel.
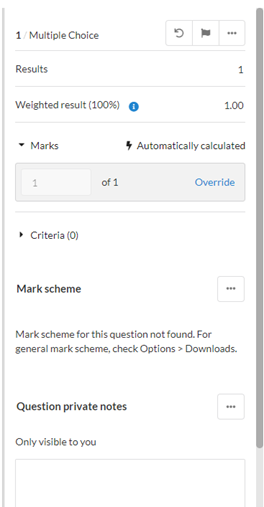
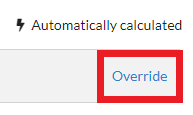
Automatic marks can be adjusted by clicking Override.
By selecting text in a candidate’s answer you will see the option to Annotate.
a. Click Annotate and this will open the text box where you can provide feedback to the candidate.
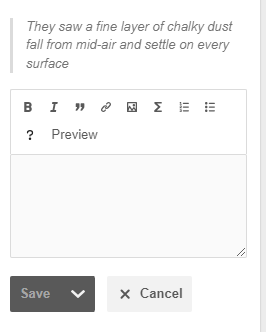
b. When finished click Save.
Select Candidate from the drop down menu to add feedback for students.
Select Co-graders from the drop down menu to share comments with other graders. This will not be shared with candidates and will only show if multiple graders are assigned to the test.
Use Page Notes to add overall comments.

Please note: No comments will be visible to students until all marks are confirmed.
When you have finished marking you may need to share your marking with Co-graders. You can do this in the Overview or Marking workspaces.
a. Click Overview or Marking in the Grader left hand menu.
b. Click the Confirm button, this opens the Confirm page.
c. When finished click Confirm now. Important: This locks the marks but comments and explanations can still be edited.
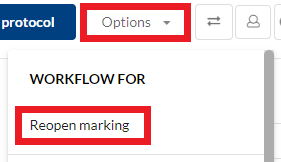
If the Grading workflow setting is set to One grader can confirm and one grader accidently confirms the marks before marking is completed, a Planner can reopen the marking.
a. Click the Options menu.
b. Click Reopen marking.
If you have set the marks to feed into Grade Centre when setting up the exam. You will need to click the Inspera exam link in the module to sync the marks to the Grade Centre column.

The Explanations workspace can be accessed from the left hand menu.

Graders can write explanations that are sent to candidates after marking is finalised.
Further information is available in Inspera's guide to Explanation of grades.
You may find the following guides and links useful.
