
Leeds Beckett University - City Campus,
Woodhouse Lane,
LS1 3HE
Upload a file
Page last updated:
This is a staff guide to uploading files to a MyBeckett module or course community.
Before uploading files to MyBeckett: Please ensure that the file name is descriptive of the content for example: 'Week 3 lecture - Project Planning PowerPoint' (This is important for students using screen-reading software), to help them identify the correct file to download.
a. Click the name of the content area from the Module menu in which you want to upload a file ( e.g. Week 1 - Topic 1).
b. Click Build Content, then File.
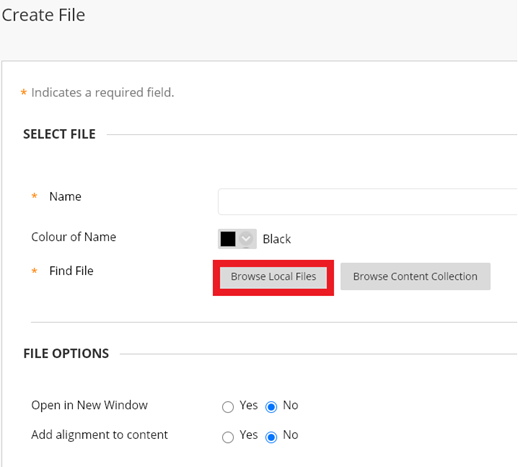
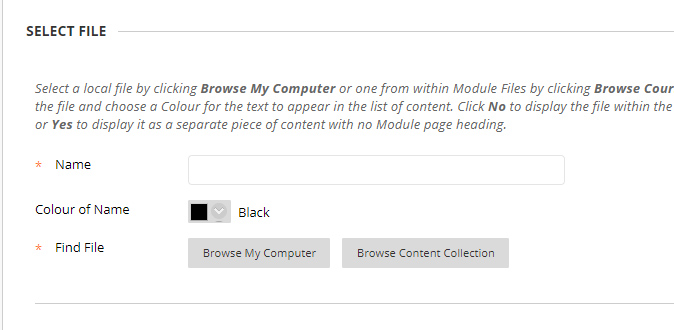
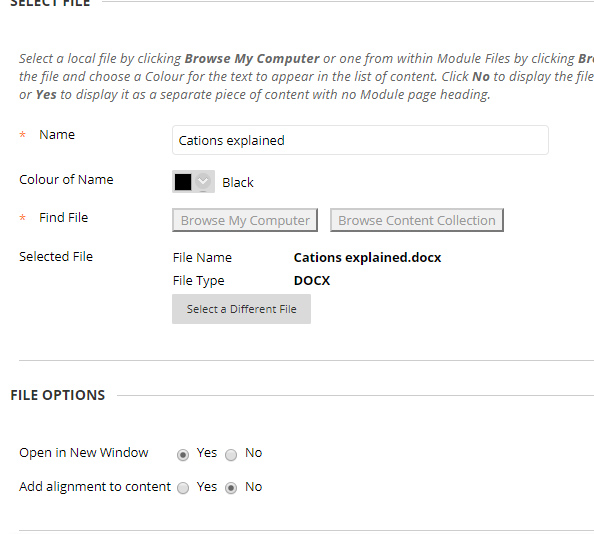
c. Type the Name of the file so that it's easy for students to identify. Then click Browse Local Files your computer (for Content Collection see steps below).
d. Change the settings from the default: open file(s) in new window = 'Open in New Window' to Yes.
e. Set the Standard Options: Select Yes to 'Permit Users to View this Content', if you want students to see it immediately.
f. Set Track Number of Views to Yes, if you want to be able to view information about file usage.
g. Select Date and Time restrictions if necessary and Submit. Your file/s will be uploaded.
Before uploading files to MyBeckett: also as per the above please ensure that the file names are descriptive of the content e.g. Week 3 lecture - project planning.pptx. This is important for students using screen-reading software, to help them identify the correct file to download.
a. Click the name of the content area in which you want to upload a file, (e.g. Week 1 - Topic 1).
b. Click Build Content, File.
c. Click Browse Content Collection.
You can browse through your folders, upload more files directly to the content collection and search content collection for files or folders previously:
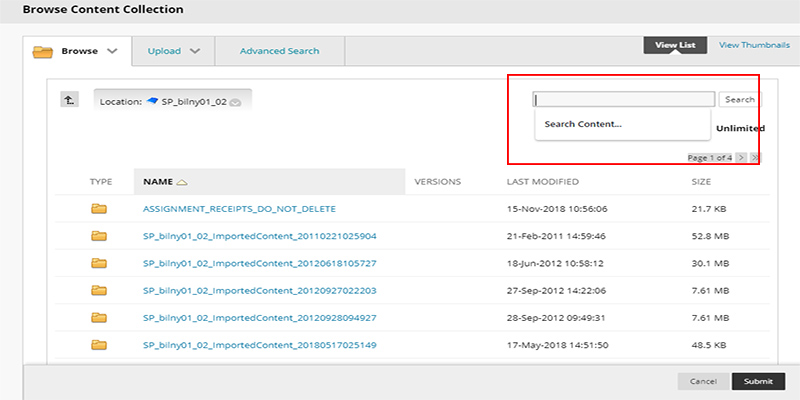
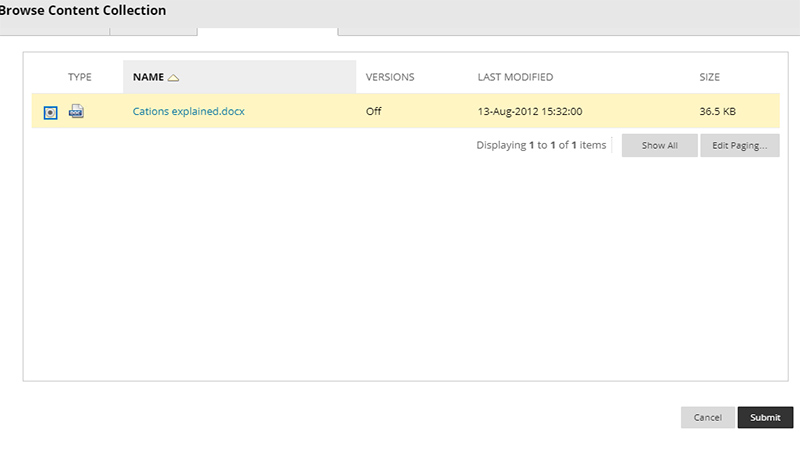
d. Search for the file in the Search Content box or scroll through the pages as shown above. Select a file using the tick box in the Type column to the left of the icon, then click Submit.
e. Add a Name for the file and also set the file to Open in New Window by clicking Yes.
f. Select Yes for Permit Users to View this Content if you want students to see it immediately. Set Track Number of Views to Yes.
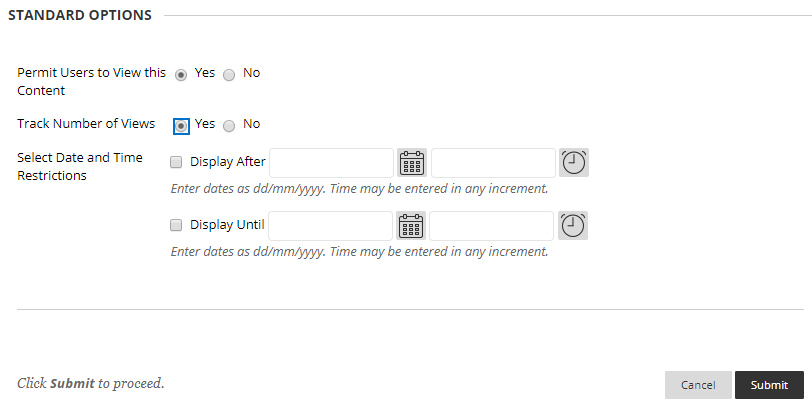
g. Select Date and Time restrictions if necessary as above and finally click Submit.
