Leeds Beckett University - City Campus,
Woodhouse Lane,
LS1 3HE
Create a content area
Page last updated:
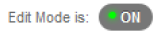
Before starting, turn Edit Mode ON
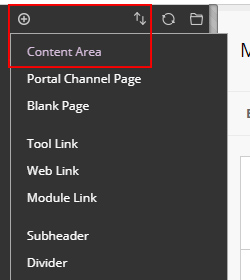
a. In your module, hover over the + icon at the top left of the Module Navigation Menu, then click Content Area.
b. Type the Name of the Content Area e.g. Week 2 - Topic 2. If you want students to see the content, tick the Available to Users box and click Submit.

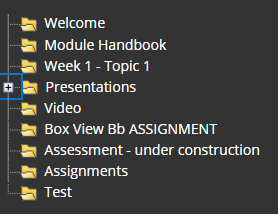
c. The new content area appears at the bottom of the Module Navigation Menu. Hover your mouse over the double arrow, then click and drag

d. For more information about organising your Module Navigation Menu, view our guide
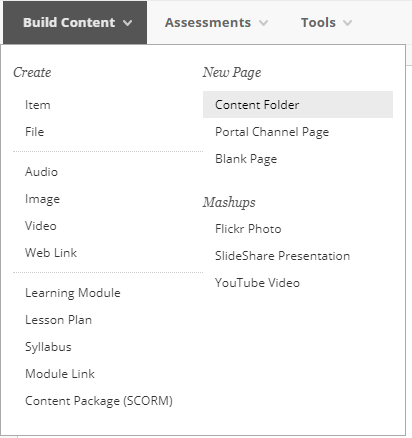
a. In your chosen content area, hover the mouse over Build Content and click Content Folder.
b. Type a Name for the folder and add any additional info students might find useful in the description.
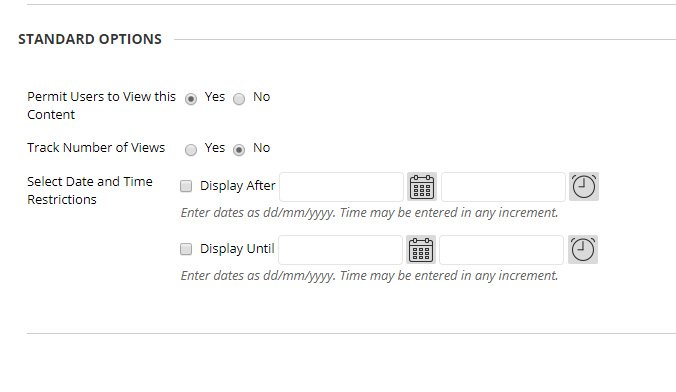
c. Choose Permit Users to View this Content if you want students to see it, and Track Number of Views (you can check the stats later). Set Date and Time Restrictions if applicable.
d. Click Submit
e. The folder is displayed in the Content Area.

f. Repeat this process to add more folders to the Content Area. To add content in the folder you've created, click the name of the folder to open it and use the Build Content menu to add content to it.
Within a folder you can create a sub-folder. NB: Student feedback: too many sub-folders is difficult for them to navigate.
a. Open the folder.
b. Go to Build Content, click on Content Folder and repeat the above steps at point 2 above.
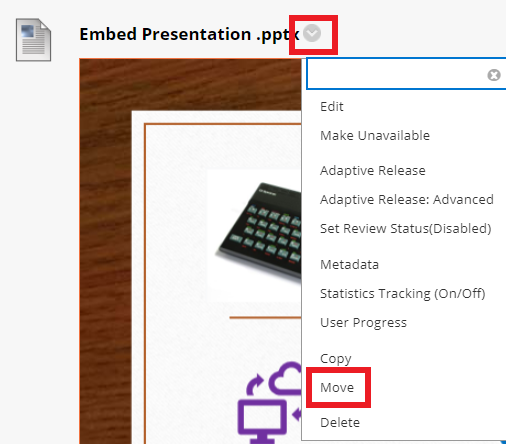
c. To move an item into the sub-folder. Click Browse, click the small folder icon at the top of the Navigation Menu to view the sub-folders.
d. Browse to find destination sub-folder, a pop up window will appear - Maximise popup window - then click onto the plus icon next to the folder to view the Sub-Folders and select.