
Leeds Beckett University - City Campus,
Woodhouse Lane,
LS1 3HE
Create & attach a Turnitin Rubric
Page last updated:
This staff guide contains information to help staff create and manage Turnitin rubrics.
You can use a rubric to evaluate student work based on defined criteria and scales.
Before you start
If you will be marking and providing feedback as part of a team, it is a good idea to decide who will create and attach the rubric to the assignment. When you start marking, the rubric will be available to all instructors who access the assignment submissions in Feedback Studio.
Types of rubric available within Turnitin
- Qualitative Rubric: allows you to create a rubric that has no numeric scoring.
- Standard Rubric: enter scale values and criteria percentages.
- Custom Rubric: enter any value directly into the rubric cells.
Sharing rubrics
You can share rubrics with other instructors via export/import. This is a quick and easy solution to ensure all markers are using the same rubric and speed up admin time; Quick Marks can also be shared with each other easily too.
See our guides:
Student experience of accessing rubrics
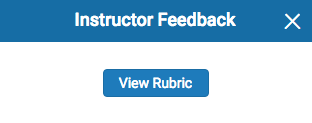
If you attach a rubric to a Turnitin assignment, your students will also be able to access this via opening the assignment submission within feedback studio and selecting the speech bubble icon within the toolbar and following through to the view rubric option to view feedback.
![]()
One of the easiest way to create a basic rubric from scratch is by using an excel template that can be downloaded from the import area or provided to you via Digital Learning Service team (contact at the bottom of this page).
To create a rubric using an excel template follow these steps:
a. Within the assignment inbox navigate to the settings cog icon
![]()
b. Click optional settings link to expand with further option
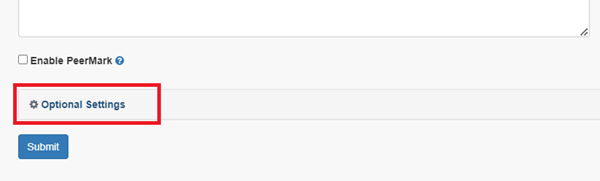
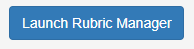
c. Under submission settings click launch rubric manager
Note: Attach a Rubric has to be a ticked option for rubric manager to appear.
d. Click on the arrow icon in the top right corner, select Import option:
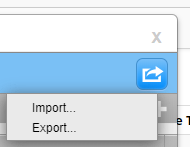
e. Then download the template, the rules for the spreadsheet are set out above the 'Download Example Template' button:

f. When ready please follow this import a rubric guide to complete the process of creating a rubric.
You can access the Rubric and Form Manager in one of two ways: at the point of creating an assignment (1) or within Feedback Studio (2).
Examples of each are as follows:
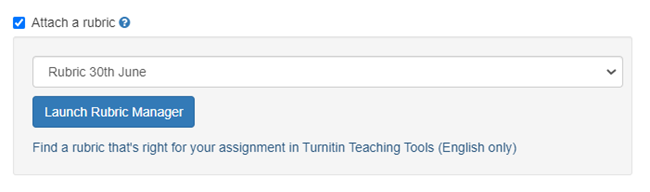
Option 1. When you create a new Turnitin assignment. Click optional settings and make sure attach a rubric is ticked, with it being checked Launch Rubric Manager button option will appear to select.
Option 2. Within Feedback Studio when viewing a student's paper from the feedback panel on the right.
The benefits of qualitative rubric allows you to create a rubric that has no numeric scoring. You can use a qualitative rubric to indicate a student's level of achievement against marking criteria, and you have the option to enter an overall mark for the paper.
a. Access the Rubric and Form Manager (via Feedback Studio).
![]()
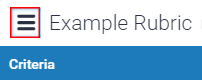
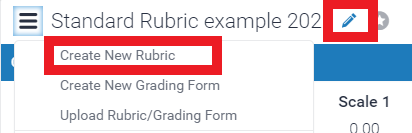
b. Click the menu icon at the top left.
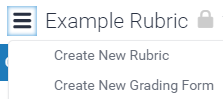
c. Click Create New Rubric.
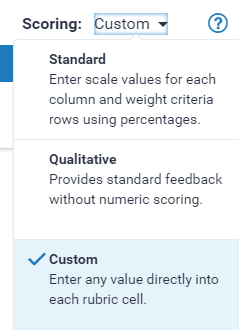
d. Change the rubric type to Qualitative.
Select Qualitative from the Scoring drop-down list at the top right.

e. Click on the text next to the burger menu 'Enter rubric name here' and type a name for your rubric.

f. Enter your scale titles, descriptions and values into each field. These are saved as you click outside of each field. You can use the plus icon to add further columns or rows.
g. Click Save then close the Rubric and Form Manager.
The benefits of a standard rubric allows you to enter scale values and criteria percentages. The maximum value for the standard rubric will be the same as the highest scale value entered.
a. Access the Rubric and Form Manager from Feedback Studio (open any paper).
b. Click the menu icon at the top left of the Rubric and Form Manager.
a. Access the Rubric and Form Manager from Feedback Studio (open any paper).
b. Click the menu icon at the top left of the Rubric and Form Manager.
c. Click Create new rubric.
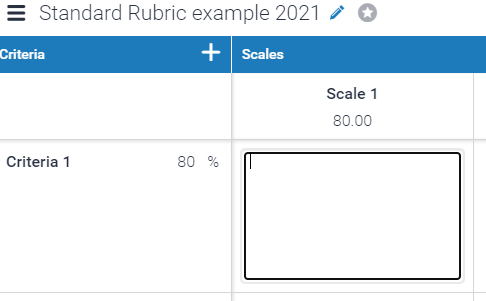
d. Click Enter rubric name here and type a name for your rubric look for the pencil icon next to the burger menu. The image below shows a renamed new rubric 'Standard Rubric Example 2021' - to edit click on the pencil icon.
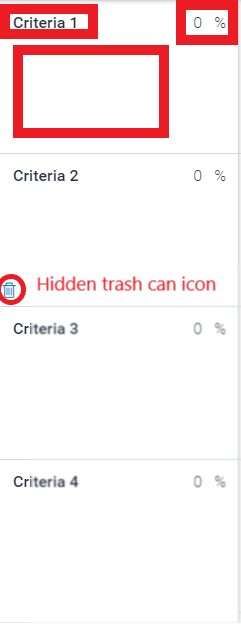
e. Enter your criteria (rows) and scale (column) titles, with descriptions in each cell and values into each field in the form. These are highlighted below.
- These are saved as you click outside of each field.
- You can use the plus icon to add further columns (Scales) or rows (Criteria).
- There is also a trash icon hidden at the corner of each, hover the cursor over the area to activate it.
- While you can assign decimal values to a rubric once applied to a grade the decimal will be rounded to the nearest whole number.
![]()
f. Click Save (bottom right) then close the Rubric and Form Manager.
A custom rubric allows you to enter any value directly into the rubric cells. The maximum value for the custom rubric will be the sum of the highest value entered in each of the criteria rows.
a. Access the Rubric and Form Manager.
b. Click the menu icon at the top left.
c. Click Create new Rubric.
d. Change the rubric type to Custom.
Select Custom from the Scoring drop-down list.
e. Click Enter rubric name here and type a name for your rubric.
f. Enter your scale titles, descriptions and values into each field. These are saved as you click outside of each field. You can use the plus icon to add further columns or rows.
g. Click Save then close the Rubric and Form Manager.
Important: You cannot edit a rubric that you have already started using with an assignment or that someone else has shared with you. If you have started marking and realise that you need to amend the attached rubric, please be aware that you will lose any feedback that you have entered using the rubric if you decide to detach it. Inline text comments and Quick Marks will remain on the paper but inline comments linked to the rubric will disappear.
a. Access the Rubric and Form Manager.
b. Click the menu icon at the top left.
c. Use the drop-down list to select the rubric that you want to edit.
d. Make your changes to the rubric.
e. When you have finished editing your form, click Save.
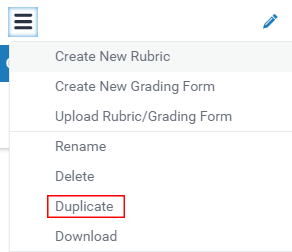
As you cannot edit a rubric once it is attached to an assignment, you may instead want to duplicate the rubric to edit and reuse elsewhere.
a. Access the Rubric and Form Manager.
b. Click the menu icon at the top left
c. Use the drop-down list to select the rubric that you want to duplicate.
d. Click the menu icon, then click Duplicate.
d. Click Save.
a. Once a paper has been submitted, open any submission from the inbox to open Feedback Studio
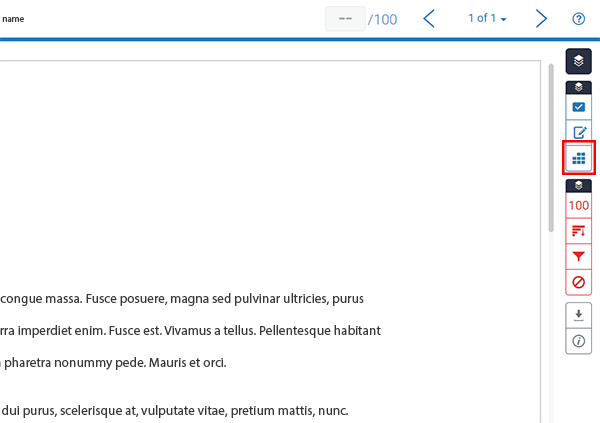
b. From the online grading toolbar, select the Rubric icon to open the Rubric side panel (right-hand side of assignment).
![]()
c. Click the cog icon in the Rubric/Form side panel to open the Rubric and Form Manager.

d. Click the burger menu icon (top left) of the Rubric and Form Manager.

e. First select the rubric you wish to attach to the assignment from the drop-down menu, it will show a tick when you have made your selection. (If the your rubric is not visible, you may need to create a new rubric or upload a rubric, please refer to the previous sections of this guide).

f. Next to attach it to the assignments, go to the bottom left-hand corner of the Manager, toggle 'Attach to assignment' from off to On.
The same can be done to detach a rubric from an assignment.
*Important: Detaching a rubric will remove any existing scores from the assignment*


