
Leeds Beckett University - City Campus,
Woodhouse Lane,
LS1 3HE
Leave feedback for students in Feedback Studio
Page last updated:
This guide provides an overview of feedback tools that you can use when marking written work within Turnitin Feedback Studio.
These include:
- Inline comments: text feedback written in context within the document.
- Strikethrough: text with a line through it.
- Bubble comments: text feedback in context, that can contain formatting and hyperlinks.
- QuickMarks: reusable text feedback in context, that can contain formatting and hyperlinks.
- General text and voice comments: overall feedback in the document side panel, up to 5000 characters of text and 3 minutes of audio.
Please note, if you have attached a rubric or a grading for to the assignment, then you can also use this to structure your feedback against assessment criteria.
Tips on making your feedback accessible in Turnitin Feedback Studio:
- Leaving voice comments - When leaving comments for students with hearing disabilities, we recommend instructors leave a text-based comment instead of a voice recording.
- Using a screen reader - Students using a screen reader can access a text-only version of their similarity report by pressing Tab + Enter upon accessing the Similarity Report.
- Visual impairments - Students can download a text-based PDF version of their report. When leaving comments for students with vision impairment, we recommend instructors include the original text alongside their comments. This is so that students can associate the instructor's comment with the text of their submission.
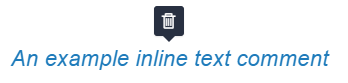
Inline comments let you leave feedback directly on top of a student’s submission.
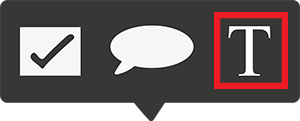
a. Click anywhere on the open document in Feedback Studio. A bubble will appear, providing quick access to feedback tools including QuickMarks, bubble comments and inline text.
b. Select the T icon to add inline text, then type your comment. This will automatically save.
c. You can move a comment by clicking on it and dragging it to where you want it to be.
d. To delete an inline comment, hover over the comment with your mouse and click the Trash Can icon that appears above the comment.
e. This change can be undone by clicking Undo in the notification that appears upon deletion, located at the top of the paper. To continue leaving feedback, click anywhere else on the paper. The notification box will disappear.

The strike-through tool allows you to cross out text within a submission.
a. Select the text you want to strike-through, then click the S icon from the bubble that appears.

b. To remove a strike-through, hover over the text then click the trash can icon that appears.
![]()
c. You can undo this change by clicking the Undo message that appears at the top of the paper. To continue leaving feedback, click anywhere else on the paper. The notification will disappear.

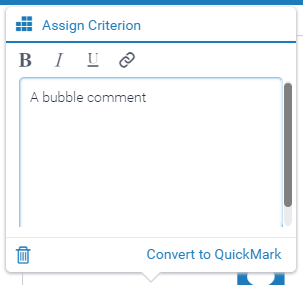
If you want to include formatting or hyperlinks in your feedback, you can use a bubble comment.
a. Click on the submission and then click the speech bubble icon that pops up.
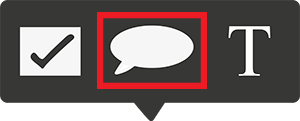
b. If you want to connect your bubble comment to specific text within the document, first select the text, then click the speech bubble icon. This will also allow you to highlight the text in a colour of your choice.
c. Type your comment in the pop up that appears. You can:
- apply bold, italic or underline using the formatting tools at the top
- insert hyperlinks using the link icon
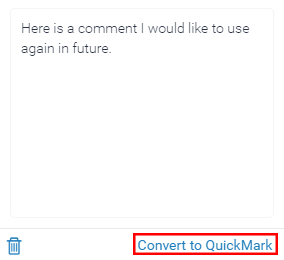
- click Convert to QuickMark if you think the comment may be suitable to reuse in future
- click the rubric icon (top left) to link the comment to grading criteria, if a rubric or grading form is attached to the assignment
- click the coloured square (top right) to change the colour of the highlighter. Note, this option is only available of you select the text before adding the bubble comment.
d. To delete a bubble comment, click the blue bubble icon then click the trash can icon (bottom left).
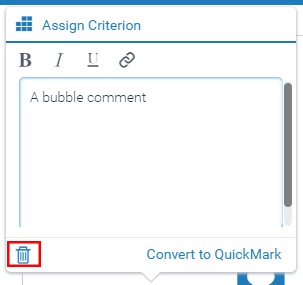
e. You can click Undo if you change your mind about deleting a bubble comment. To continue leaving feedback, click anywhere else on the paper. The notification will disappear.
You can save comments (known as QuickMarks) to reuse on different submissions. The instructions below explain how to use an existing QuickMark, or create a new QuickMark.
To use an existing QuickMark:
a. Click on the submission and then click the checkbox icon that pops up.
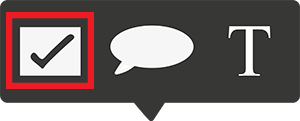
b. If you want to connect your QuickMark to specific text within the document, first select the text, then click the checkbox icon.
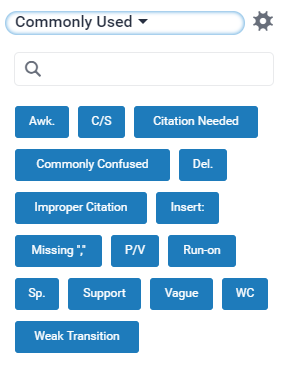
c. You can save QuickMarks into different sets, for example for a specific course or level. Choose the QuickMark set you want to use from the drop-down list at the top of the QuickMark pop-up.
d. Click on a QuickMark to add it to the submission. You can then click and drag the QuickMark into position.
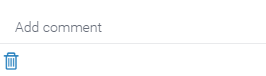
e. You can leave a comment with your QuickMark, click the QuickMark then type in the Add comment field at the bottom.
To create a new QuickMark:
a. Click on the submission and then click the speech bubble icon that pops up.
b. Type your comment in the pop up that appears.
c. Click Convert to QuickMark.
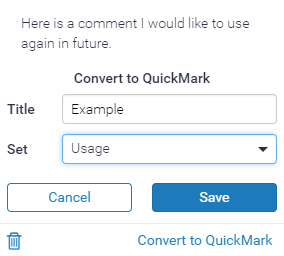
d. Type a Title for your new QuickMark. Try to make this clear and meaningful, so you know what the QuickMark is for when you come to use it later.
e. Select a QuickMark set from the drop-down menu.
Note, if you would like to create a new QuickMark set, you can do this using the QuickMark Manager.
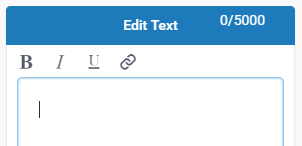
As well as inline comments, you can leave overall feedback for a submission within the Feedback Summary side panel. You can leave up to 5000 characters of text, or up to three minutes of audio feedback.
a. Click the feedback icon in the Feedback Studio side panel. This looks like a pen and paper.

b. To add a voice comment, click to record button on the left to start recording.
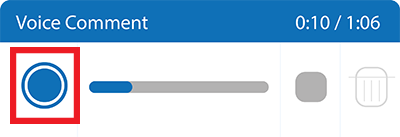
c. You can pause the recording by clicking the pause button, and resume by clicking record again.
d. When you have finished recording, click the >stop button. This allows you to playback your recording. You can use the trash can icon if you want to delete it and start again.
e. After you have pressed stop, the Save button will appear. Click this when you are ready to save your audio feedback. Note, at peak times this may take a few minutes to save.
f. To add a text comment, type in the Text Comment text box. You can add formatting and hyperlinks using the tools at the top.
g. To delete the text comment, click the Trash Can icon in the top right corner of the Text Comment box.
