Leeds Beckett University - City Campus,
Woodhouse Lane,
LS1 3HE
Create an online test
Page last updated:
You can create an online test in MyBeckett to check student knowledge and give immediate feedback. Tests differ from surveys (another available tool), as you can add a point value to questions. Test results are recorded in Grade Centre.
This guide explains how to create a test. There are three main stages:
- Create the test canvas with name, description and instructions
- Add questions to the test (create, reuse or upload questions)
- Make the test available to students by adding it to a content area
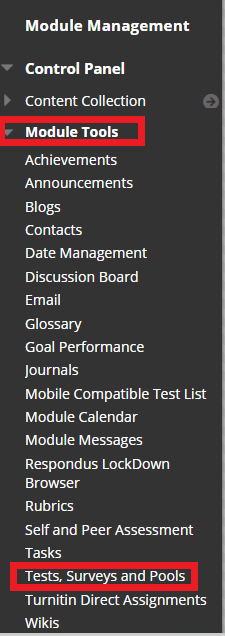
a. In the Module Management menu, click Module Tools, then click Tests, Surveys and Pools.
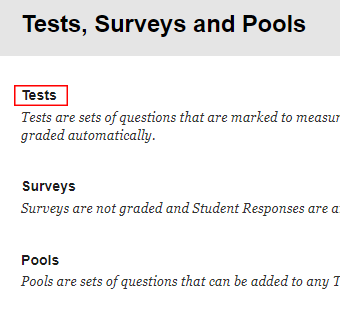
b. Click Tests.
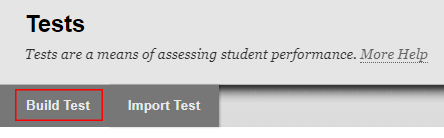
c. Click Build Test.
d. Under Test Information, type a Name and Description for the test, along with any Instructions for your students.
Note, if you plan to use question by question feedback, we have a standard description you can give your students which explains how they can view it:
"When your feedback is released by your tutor, you can view it by clicking Provisional Grades in the module navigation menu. Next, click the Test Name. This opens a screen displaying your attempts and marks. Click the mark you received and it will take you to the feedback you received for that attempt."
Important: You need to make the Provisional Grades link visible for students to access feedback. More information is available in our guide to releasing marks and feedback to students.
e. Click Submit. Next, you need to add some questions.
You can create questions within your test canvas, or you may wish to create a pool of questions that you can reuse. Our guide to test pools explains how.
To create questions within your test canvas:
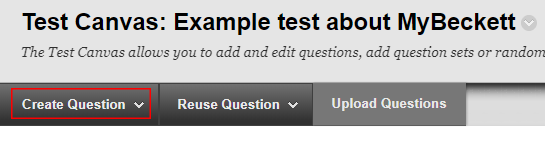
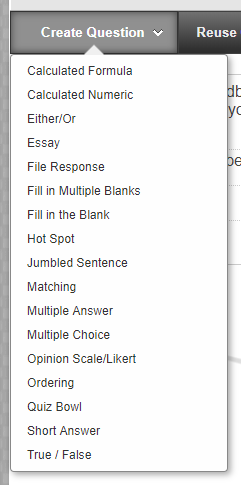
a. In the Test Canvas, hover your mouse over Create Question.
b. Select a question type from the list. Our guide to test question types contains more information. Please note, you can build feedback for correct/incorrect responses into most question types, with the exception of essay questions, file response questions and short answer questions which require manual marking.

c. Add a Question Title. This is not visible to students but will help instructors identify the question.

d. Add Question Text. This will be visible to students.
e. Complete the remaining sections (these will differ depending on the type of question you have chosen).
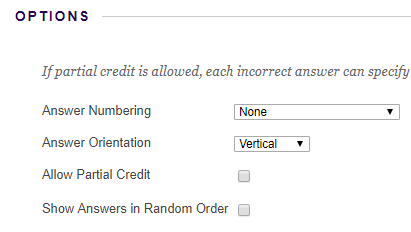
Options
This section may include answer numbering, orientation, partial credit, and randomisation of answers.
- Answer numbering: Options include None, Arabic Numerals, Roman Numerals, Uppercase Letters and Lowercase Letters.
- Answer orientation: Do you want the answers to display horizontally or in a vertical list?
- Allow partial credit: This enables you to assign credit for partially correct answers, or use negative marking. If ticked, this adds a Partial Credit % box below each incorrect answer option. A negative percentage in this field will reduce the student's overall grade for the test.
- Show answers in random order: Do you want the answer options to display in a different order each time the test is viewed?
Answers
This section will vary the most depending on the question type that you have chosen. This is where you will create the answer options for your students to interact with, and specify the correct answer.
Feedback
You can enter feedback for students when they answer correctly or incorrectly. If partial credit is awarded, students receive the feedback for correct answers.
Categories and keywords
You can tag questions with metadata for category, level of difficulty, topic and keyword. This information is optional but makes it easier to use other tools such as question sets. Our guide to question sets provides more information about this.

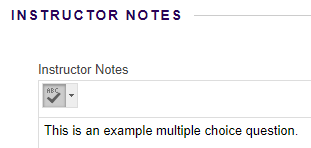
Instructor notes
Text in this section is not visible to students, it is for the benefit of instructors on the module.
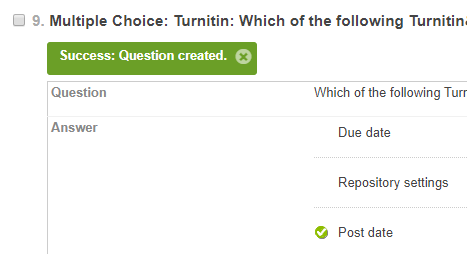
f. Click Submit.
g. A summary of the new question displays in the test canvas.
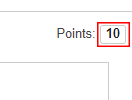
h. On the right of the question, you can allocate points for a correct answer. The default is 10 points.
You can reuse questions you've already created.
a. In the Test Canvas, hover your mouse over Reuse Question, then click one of these options:
- Question Set: A group of questions drawn from tests or pools. Choose how many questions to present, and (if it's less than the total number of questions) it presents a random set of questions to students each time they sit the test. See our question set guide for more information.
- Random Block: A set of questions randomly retrieved from a single pool, based on the type of question you specify and the number of questions available in the pool. (Random blocks can't be drawn from tests, or from multiple pools.)
- Find Questions: Add any combination of existing questions in pools to a test.
Choose questions:
1) Whether to copy your questions into the test, this creates a new instance of the question that's protected from changes to the original.
2) Link to the original questions so any changes are reflected in the test, this is useful if you regularly update your questions.
b. Complete the Create Question Set, Create Random Block or Find Questions section/s.
c. Click Submit. New questions display in the Test Canvas.
You can prepare questions offline and upload them in a specially formatted text file to MyBeckett.
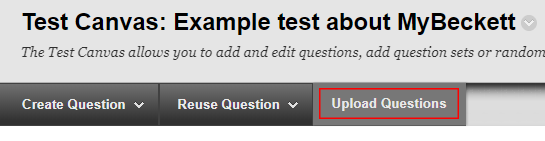
a. In the Test Canvas, click Upload Questions.
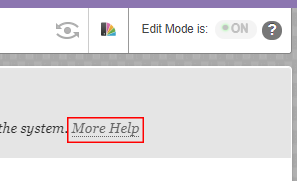
b. For guidance about preparing a text file in the correct format, click More Help in the panel at the top. A Help window will open, containing detailed instructions.
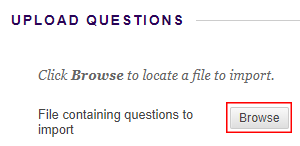
c. Click Browse, find and select your formatted text file. Click Open.
d. Type the Points per question and click Submit.

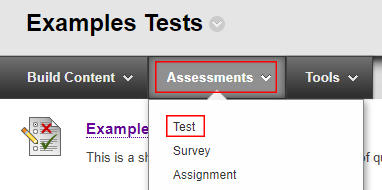
a. Open the module content area in which you want to add your test.
b. Click Assessments, then click Test.
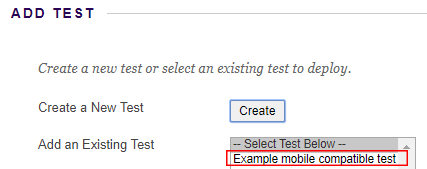
c. Under Add Test, select your test. Click Submit.
d. Adjust the test settings:
Important: Please read our online exam guidance if you're creating a summative exam.
Test Availability: Options that you can choose include:
- making the test available
- adding an announcement for the test
- allowing multiple attempts
- forcing completion of the test in one sitting,
- setting a timer for the test
- setting a date range for the test
- password protecting the test

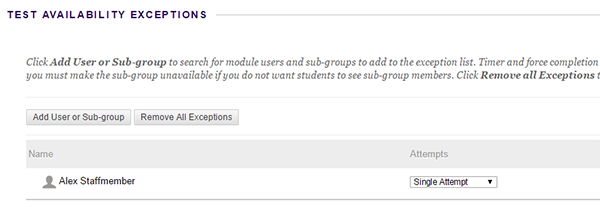
Test Availability Exceptions: If you need to provide different options for specific users or sub-groups, you can add them to the exception list. For example, for students who are allowed more time to take tests.
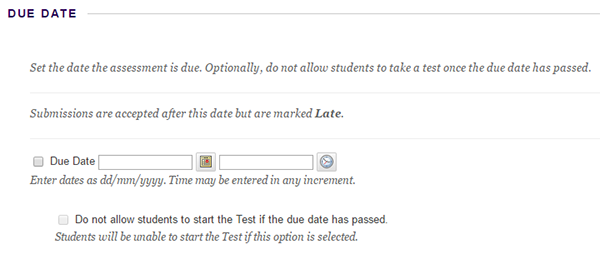
Due Date: You can set a due date for the test, with the additional option of preventing students from starting the test once the due date has passed.
Note: Submissions can be accepted after this set date and marked as Late only if option Do not allow students to start the Test if the due date has passed has not been selected within the settings.
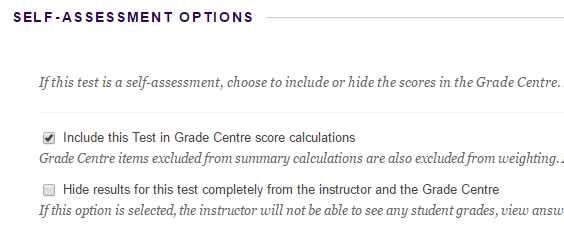
Self-Assessment Options:
If using you to allow students to seff assess their own knowledge, choose to include the results in Grade Centre (recommended setting).
The next setting is to be used with caution!
Hiding results from Instructors cannot be changed in the settings after the test has been completed by students.
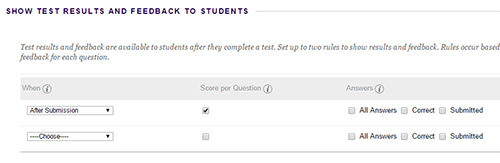
Show Test Results and Feedback to Students: Decide when to show results to students, whether to include question scores, the answers you want to show, whether to include feedback and incorrect questions.
Test Presentation:
- Decide whether you want to show the test questions All at once or One at a Time. We recommend only using all at once if you have less than 25 questions. You can also use tick boxes to Prohibit Backtracking and Randomise Questions.
Important Note for use of Randomised Questions:
When using randomised questions please be aware that when it comes to marking, the questions will be presented to the marker in the order displayed to the student. As a result you will not be able quickly refer to the answers as they will be in a different order. You may wish to add a question number or code to the Question Text box e.g. [01] or [AB] to make marking easier. This is important if you are using a large set of questions.
Please note that the Question Title will not be visible when marking so do not use this section to denote question numbers.
The Question Text box will be visible to the student, so you may wish to make them aware to disregard the number/code in case this leads to confusion.

e. Make the test available to students by clicking Yes next to Make the link available.
f. Click Submit.
